


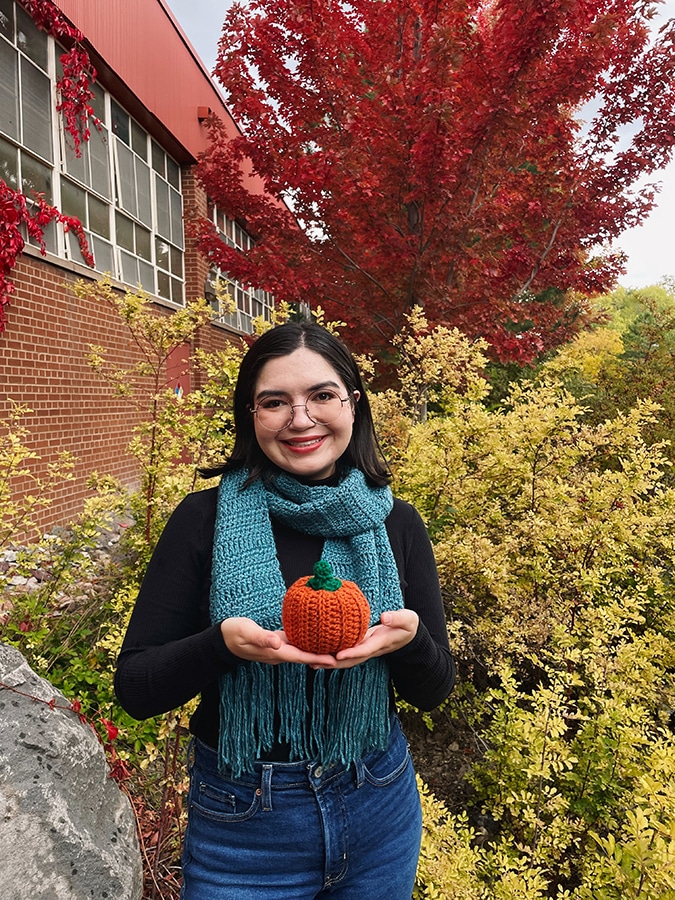
Kaylin McLiverty (Diné) from Fruitland, New Mexico, is a graduate student in statistics and president and founder of the Lumberjacks Fiber Crafts Club. For I Love Yarn Day on Oct. 14, she shares how she fell in love with yarn and one of her favorite fall crafts.
The day I fell in love with yarn, I was sitting watching my shimásání (grandma in Navajo) spin wool with a spindle. Her hand would flick back and forth with precision as the wool fibers started to look more and more like yarn. I was young, and despite my attempts at spindling wool, the motion felt so foreign, and my work was sporadic compared to hers.
I was learning how to weave and all the processes that went into the fantastic art. While I was not the best at spindling wool, I was able to help with carding the wool to detangle the fibers. Along with learning how to make skeins out of wool from our sheep, I learned all about the different weaving tools. Once I was more familiar with all the preparation, my mom, aunts and grandma took turns showing me how to weave a rug from start to end.
My first rug was cute. I chose all my favorite colors and tried to keep the stripes as even and symmetric as possible. I was so proud of it that I was telling everyone about my rug, including my Navajo teacher. She encouraged me to share what I had learned at the Shiprock Fair. So, I started making a poster, labeling all the weaving tools and writing a reflection about my experience.
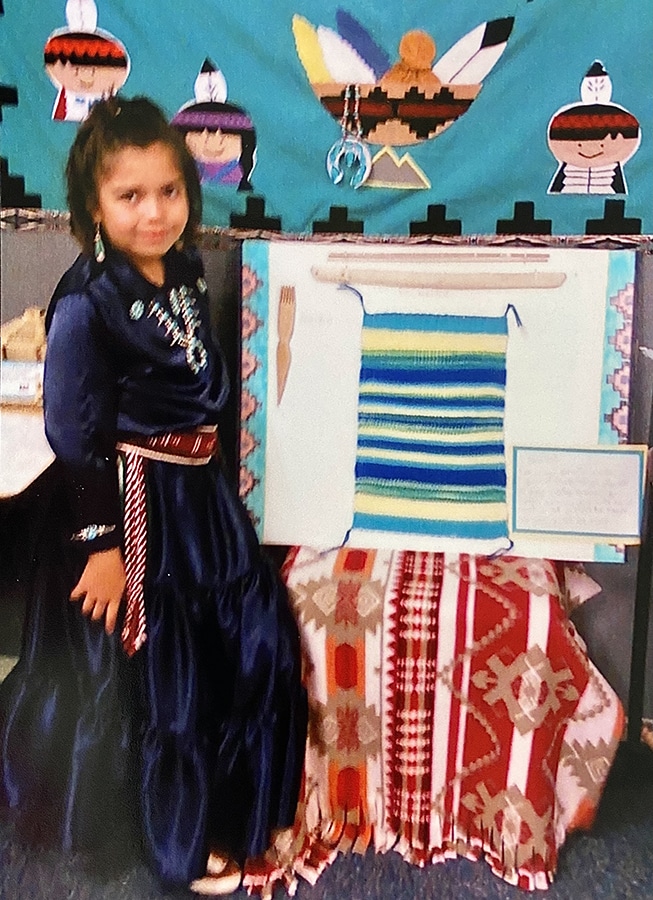 Overall, I loved the cultural significance of yarn in Navajo culture—from our connection with herding sheep, the process of creating skeins of wool, the beautiful rugs weavers create and the string games we play during the winter. When the Shiprock Fair rolled around, I was so excited that I dressed in my traditional outfit and posed by my rug. I love thinking about those days and holding those warm memories close to my heart.
My love for yarn did not stop there. In fact, I became a complete yarn aficionado. It was my goal to learn about all the yarn-related crafts. It started with crochet, making adorable stuffed animals, scarves, blankets, you name it. Following crochet, I began to knit and Tunisian crochet. Knitting was fun because I could recognize all the stitching on the beanies or sweaters in stores. Tunisian crochet is wonderful because it had the benefits of crochet while having a knitted look. Ever seen a long crochet hook? It’s a hook used for Tunisian crochet!
I first learned to crochet from a mentor and fellow fiber artist. We’d have a small group meeting every Sunday for a couple of hours to work on our personal projects. These meetings helped me continue with my commitment to my crafts. Plus, it was rather nice to sit back, chat and craft alongside other people.
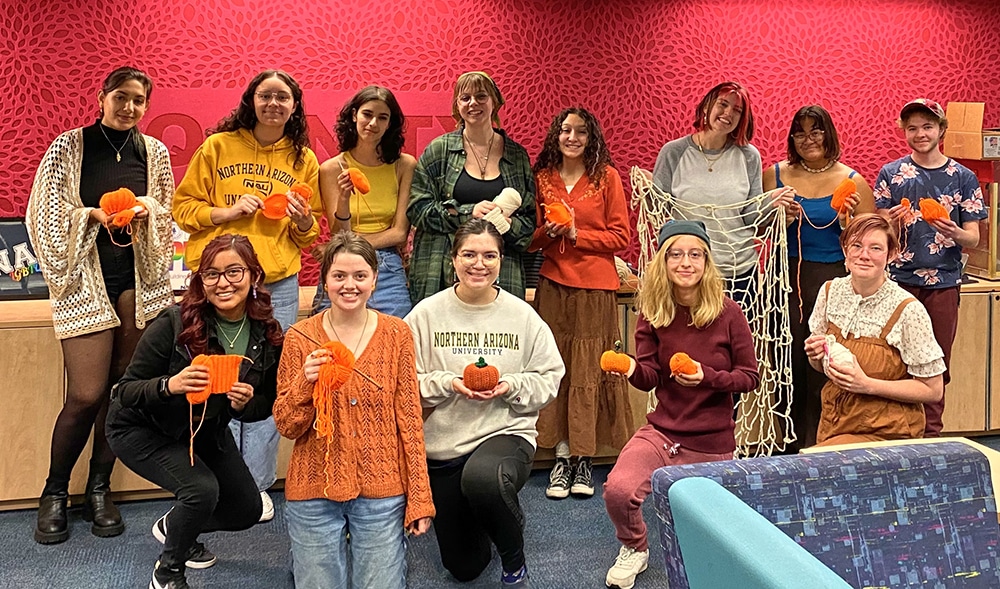
I loved this feeling of community so much that I would create these weekly sessions within my own spaces. I helped co-create a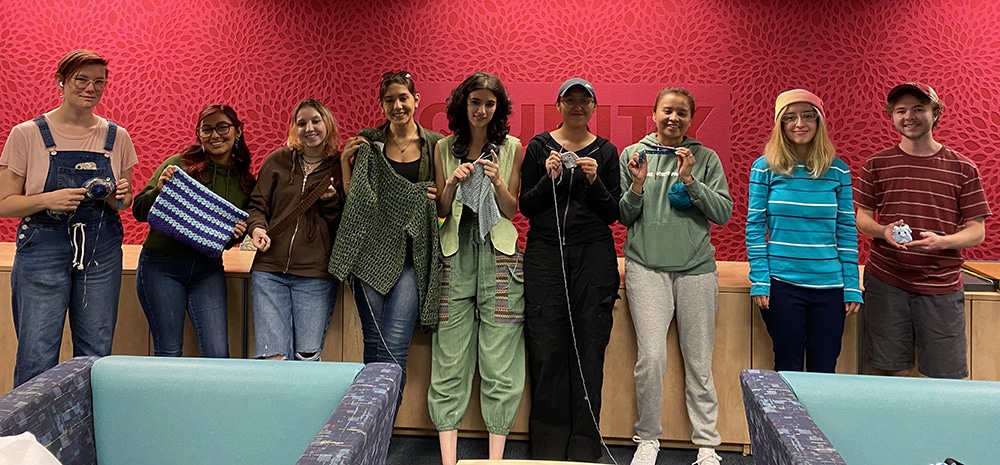 crochet and knitting club with my best friend in high school. Then came college, and I would plan crocheting events for beginners with the Office of Indigenous Student Success. Now, I’ve established a new club on the NAU campus! It’s called the Lumberjack Fiber Crafts Club to create a stronger sense of community with all fiber artists.
Going to the Lumberjack Fiber Crafts Club meetings has helped me continue to pursue my passion for crafting with yarn. Meeting new artists, seeing all these impressive projects and witnessing how this little community on campus is growing makes me feel more connected and grateful for yarn.
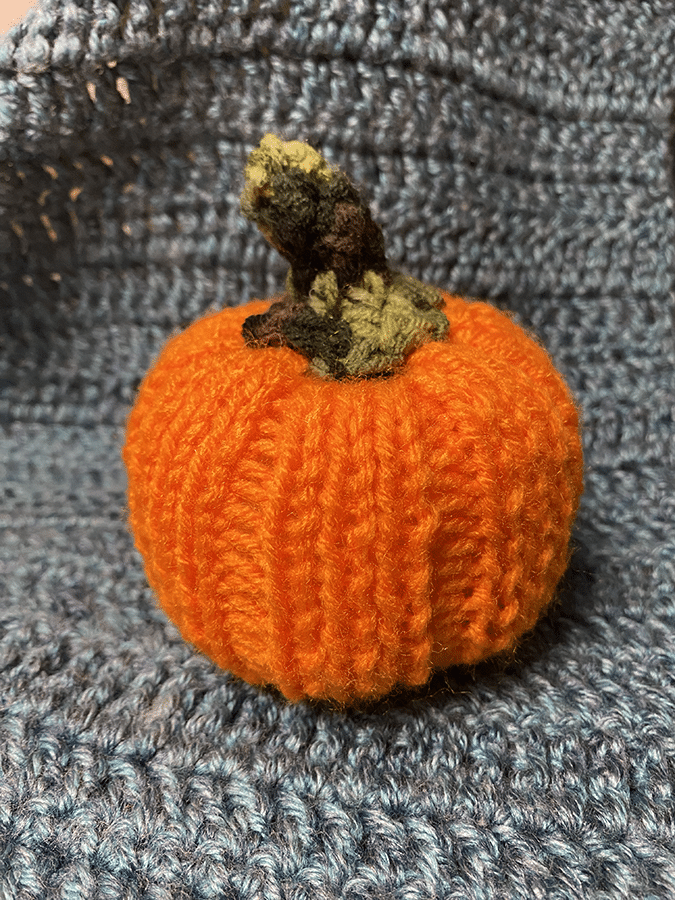
One personal tradition I would love to share is crocheting or knitting pumpkins in October. The tradition began with my 11th-grade math teacher showing me the pumpkins she was crocheting! Since then, I’ve made and gifted a lot of pumpkins. One year, I crocheted a bunch of pumpkins and donated them to the nursing home my mom worked at for festive decoration. I hope for I Love Yarn Day, you’ll participate in this tradition too, even if you have not picked up a knitting needle or crochet hook before! Thankfully, pumpkins are a great beginner project!
 Crochet and knit pumpkin patterns:
 Crochet and knit pumpkin patterns:
Materials:
- Any medium size 4 (or worsted weight yarn) in orange and green/brown (<1 skein each)
- Tapestry/yarn needle
- Stuffing/yarn scraps
- Optional: Stick or anything that could resemble a pumpkin stem
Abbreviations:
- hdc=half double crochet stitch
- ch=chain stitch
- BLO=back loops only
- 2sc=2 single crochet
- dc=double crochet
- sc=single crochet
Crocheted pumpkin (worked flat):
Using medium size 4 (or worsted weight) orange yarn and 5.5 to 6.5 mm hook,
- Chain 21
- Row 1: In second chain from hook, hdc until end of row, ch 1, turn (20 stitches)
- Row 2: Hdc until end of row, ch 1, turn (20 stitches)
- Row 3: Hdc until end of row, ch 1, turn (20 stitches)
- Row 4: Hdc in BLO until end of row, ch 1, turn (20 stitches)
- The BLO will create a texture that will appear like the ridges you see in pumpkins!
- Row 5: Hdc until end of row, ch 1, turn (20 stitches)
- Row 6-23: Repeat rows 4-5 until you have 23 rows
- Finish off leaving a long tail (>1 foot) to sew pumpkin altogether
Knitted pumpkin (worked flat):
Using medium size 4 (or worsted weight) orange yarn and 4.5 to 5.5 mm needles,
- Cast on 32 stitches
- Row 1: *Knit 3, purl 1* Repeat until end of row, turn (32 stitches)
- This purl 1 will create the ridge you see in pumpkins.
- Row 2: *Knit 1, purl 3* Repeat until end of row, turn (32 stitches)
- Row 3-26: Repeat rows 1-2 until you have 26 rows
- Row 27: Fasten off accordingly, following row 1 stitch order. Leave long tail (>1 foot) to sew pumpkin altogether.
- If you do not know how to crochet, feel free to use a stick or another material for your pumpkin stem.
Crocheted pumpkin stem (worked in rounds):
- Using medium size 4 (or worsted weight) green or brown yarn and 5.5 to 6.5 mm hook,
- Chain 4 half double crochet in a magic ring (4 stitches)
- Round 1: 4 hdc in round (4 stitches)
- Round 2: 4 hdc (4 stitches)
- Round 3: 4 hdc (4 stitches)
- Round 4: In next hdc stitch, (2sc, dc, sc). In the next 3 hdc (sc, dc, sc). Lastly, in the first sc of the round, (sc, hdc, sc), slip stitch into 2 sc of the round.
- Fasten off and leave tail for sewing stem to the top of the pumpkin.
Pumpkin assembly:
- Place right sides together so that the “ridges” of the pumpkin are vertical.
- Using the long tail, sew ends together to create a tube using a yarn needle. (See note below.)
- At the top of the tube, sew back and forth around in a circle to close tube.
- Turn pumpkin inside out so that the right sides are facing outward.
- Bring string to the open end of the tube (through the center).
- Stuff pumpkin with fiber fill or yarn scraps.
- At open end of the tube, sew back and forth around in a circle.
- Add any additional fiber fill or yarn scraps as needed.
- Close tube and tighten yarn around the pumpkin until you get your desired pumpkin height. Sew in yarn tail.
- Place pumpkin stem at the top of the pumpkin.
- Sew stem onto desired place. Sew in yarn tail.
Note: For the crochet pattern, you will sew the first and last row together. For the knit pattern, you will sew the sides of each row together.
Enjoy your finished pumpkin!