


Now that the fall pumpkin garland is put away for the year, you’ll need something festive to spruce up your space. What better holiday addition than these adorable homemade Christmas trees? Here’s everything you need to know to make this thrifty pinecone craft.
Why I love this craft:
- It’s easy, quick and cheap. Not only is this a great craft to do with kiddos, but it’s ridiculously inexpensive. If you don’t count the bottle of wine, supplies cost me $5. Plus, if you craft with friends, you can split the cost!
- It provides an excuse to wander through the woods and drink wine. Not simultaneously, but I’m not here to judge. 😉 If you are crafting with kids, make sure the wine consumption is left to the adults.
- It’s super versatile. Whether you plan to spruce up your work desk with one or a whole forest, these little guys look great anywhere! Plus, by adding a loop of thin ribbon or twine to the top, they can double as a Christmas tree ornament (and make adorable gifts).
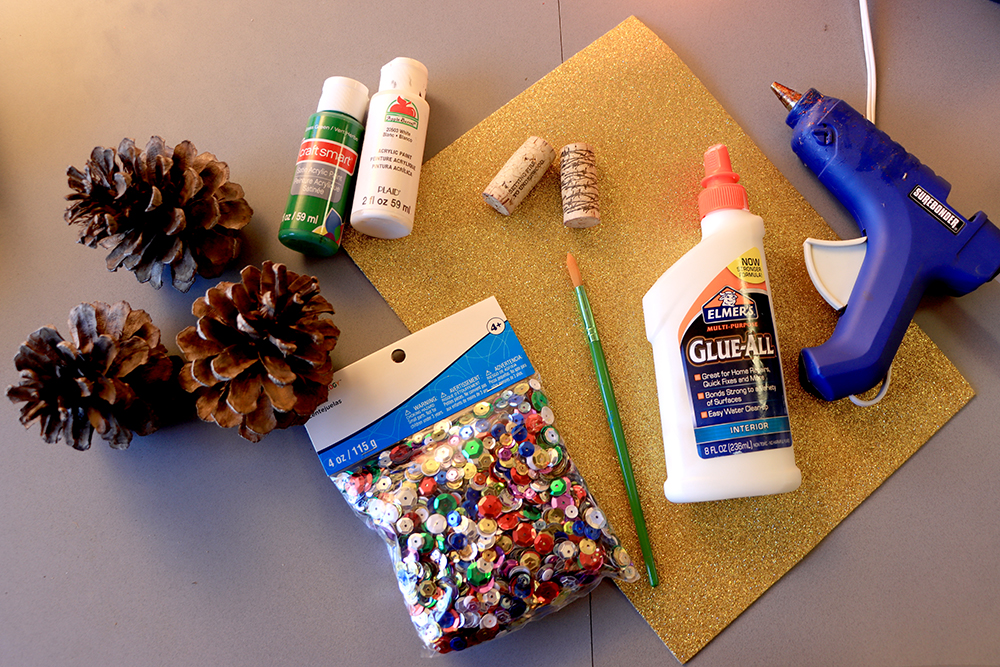
Supplies:
Don’t be intimidated by the long list—you should have most of these supplies already on hand.
- Pinecone (You can find these just about anywhere in Flagstaff. When scavenging, remember that the pinecones don’t have to be perfect—a variety of sizes and shapes gives them some personality. (Plus, the more they lean, the more they look like something out of “The Grinch.”) If you’re in the valley or somewhere free of pinecones, you can purchase a cheap bag from just about any craft store.)
- Green and white acrylic paint (TIP: If you’d like to save time, opt for green spray paint)
- 1 gold foam glitter sheet
- Wine cork (If you’d rather, you can purchase a miniature terracotta pot from Michael’s for less than a dollar to house your pinecone tree. This will also save you from needing a hot glue gun.)
- OPTIONAL: Small bag of miniature crafting pompoms or sequins (TIP: If you’d like to save money, grab whatever colorful paper you can find lying around your house/office and create your own “sequins” by hole-punching about a dozen small circles of colorful paper.)
- Hot glue gun (if using wine corks)
- Elmers or craft glue (if using pompoms or sequins)
- Small crafting paintbrush
- Knife (if using wine corks)
- Cup of water (to rinse paintbrush)
- Paper plate or small dish for paint
- Paper towel
- Newspaper or plastic sheet
- Scissors
- Pen or marker
Instructions:
- Gather supplies.
 Lay down newspaper or plastic sheet to cover your crafting space to prevent a mess.
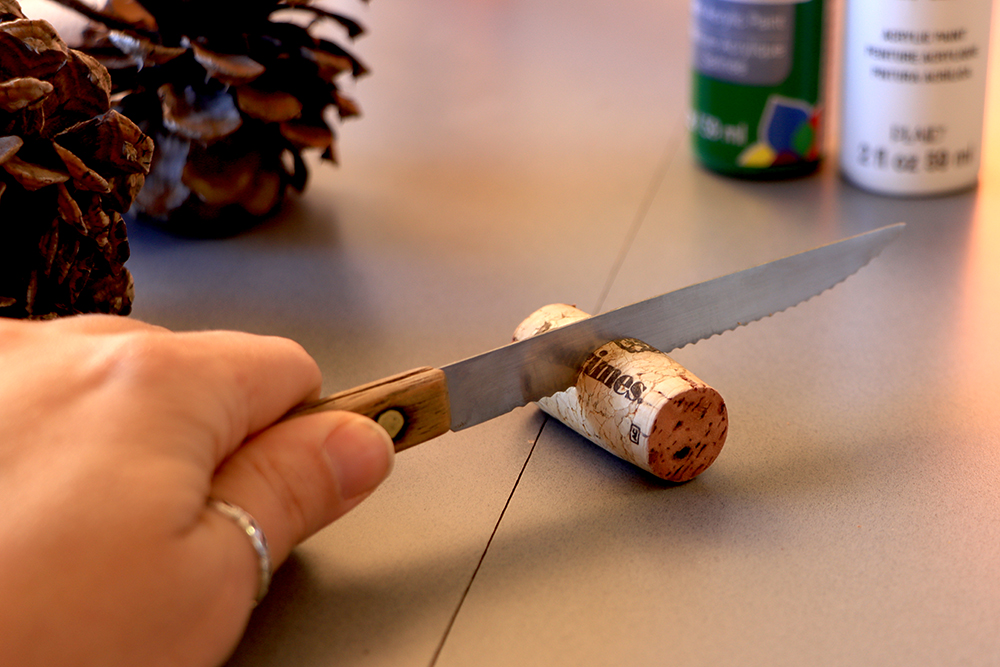
 - Start by cutting your cork in half. (If your pinecones heavily lean to one side, cut your cork at a slight angle.)
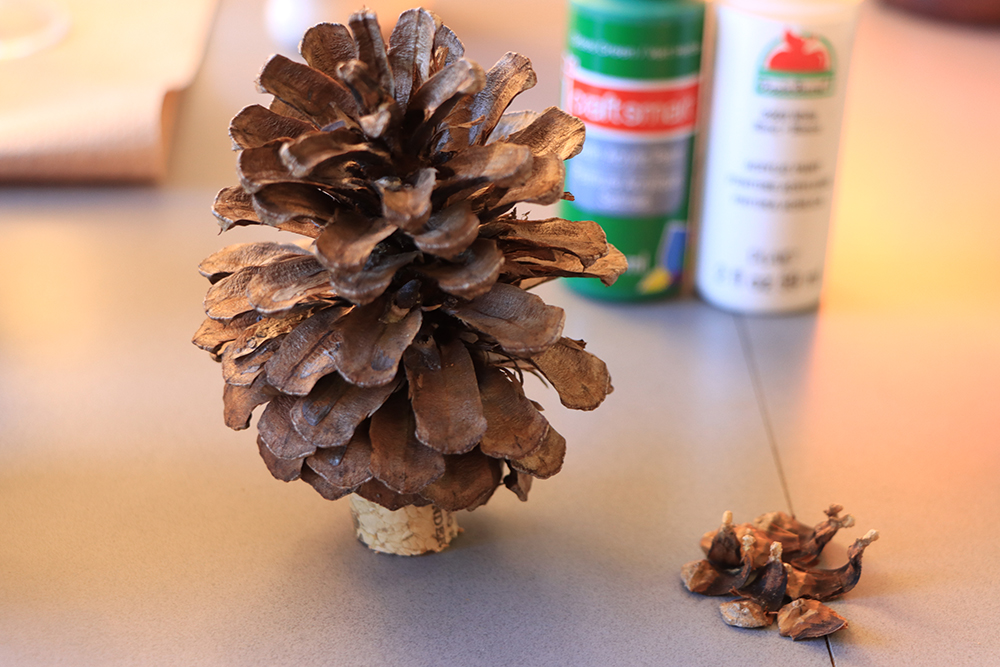
 At the butt of the pinecone, peel away and discard the scales/petals to make enough room for your cork. (TIP: If you want more of a tree look that shows the trunk (aka wine cork), peel away all the rows that angle down.)
 - Make sure your tree can stand on its own by placing the butt of the pinecone on the cork. Rotate it around and reposition until it is balanced. If making multiple trees, remember what cork works best with each pinecone. Set corks aside.
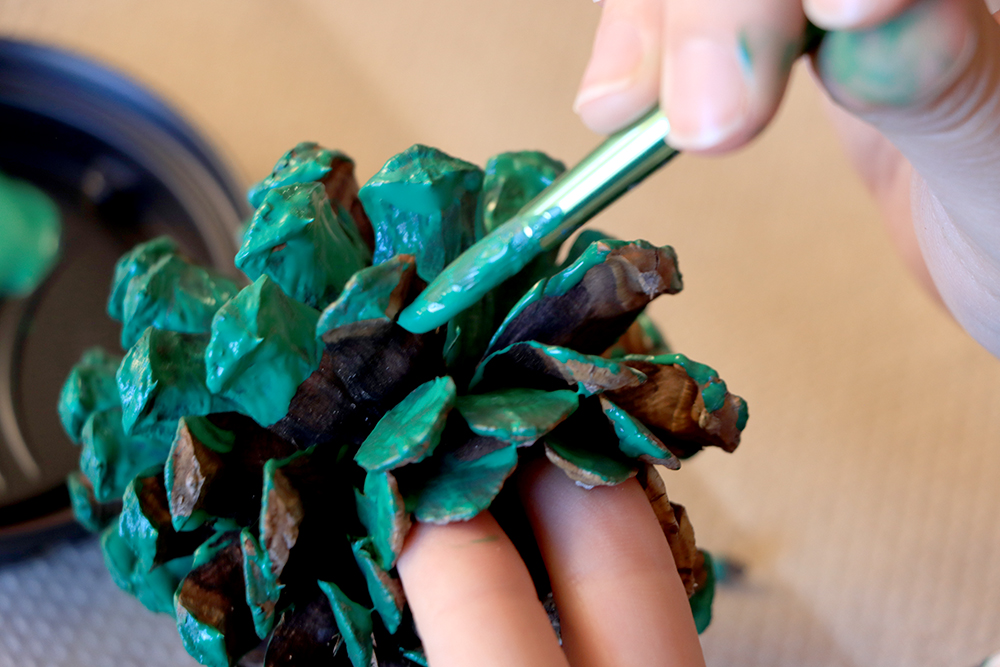
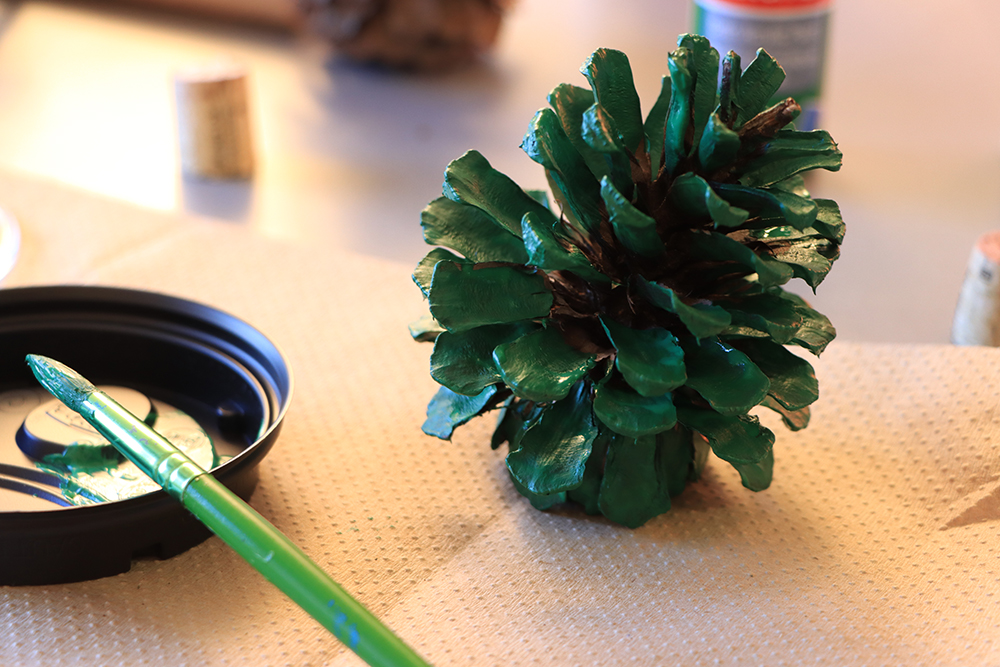
- Paint the top and bottoms of your pinecone petals/scales green. (TIP: Don’t worry about painting the pinecone core. Trunks are brown, so making sure the petals/scales are painted green should be your focus.)
- Once all your pinecones are painted, set aside to dry for about half an hour.
- Draw a star relative in size to the tree on the back of the gold foam sheet. Feel free to make this as big or as little as you’d like. I chose to keep mine small, but a comically oversized, lop–sided star would be adorable. For inspiration, use this printable PDF of a variety of stars and sizes as a template.
- Cut out your star and use it to trace identical stars. You will need two stars, placed back-to-back, per tree.
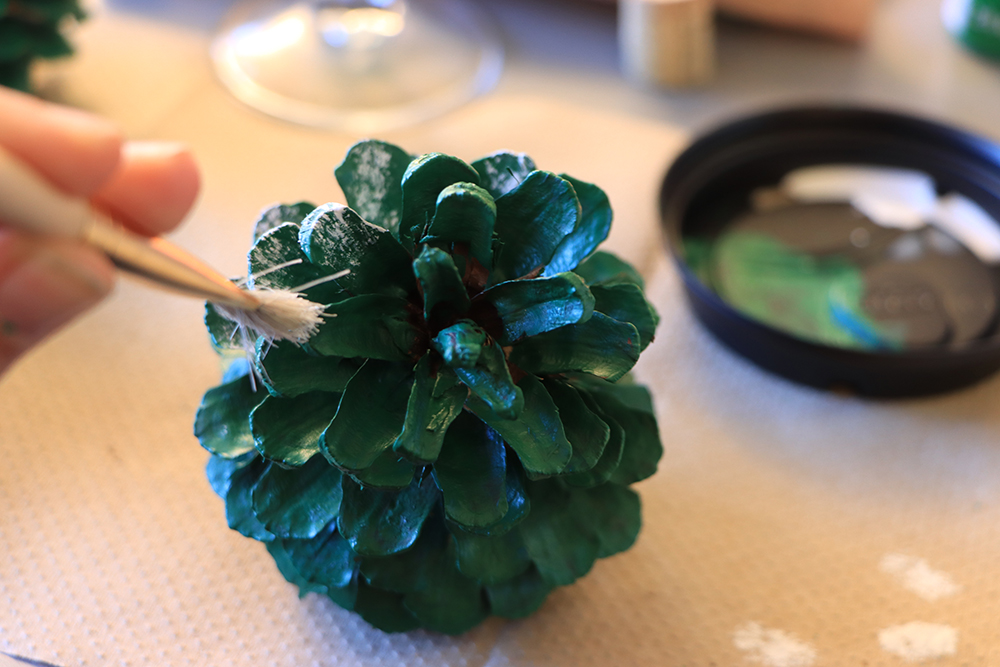
- When the green paint on your pinecones is dry to the touch, add snow by lightly blotching on white paint to the tips of each of the petals/scales. (TIP: After adding white paint to your paintbrush, blotch it several times on a paper towel to eliminate excess paint before adding it to the pinecone to give it a more realistic affect.)
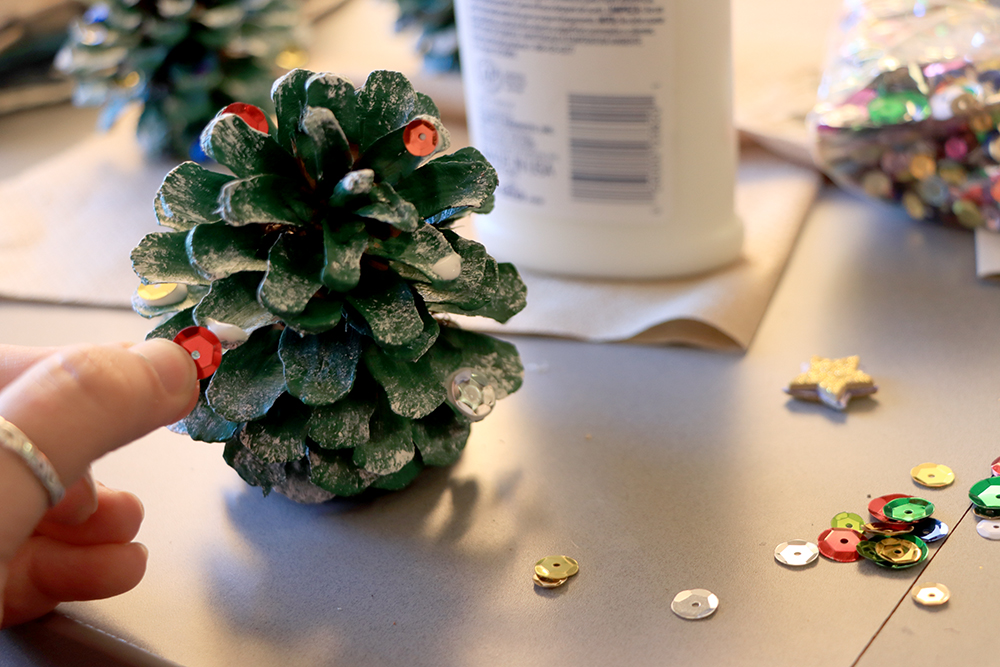
- If adding decorative ornaments to your tree, once the white paint is dry to the touch (this shouldn’t take long), dollop a small amount of Elmers or craft glue to random tree branches and add a pompom or sequin to each dollop. Make it as festive and colorful as you’d like by adding more. For reference, I used about a dozen sequins per tree.
- Add a final dollop of Elmers or craft glue to the center branch at the top of your pinecone, peel the sticker tape off the back of your stars and stick the stars back-to-back over the dollop of glue.
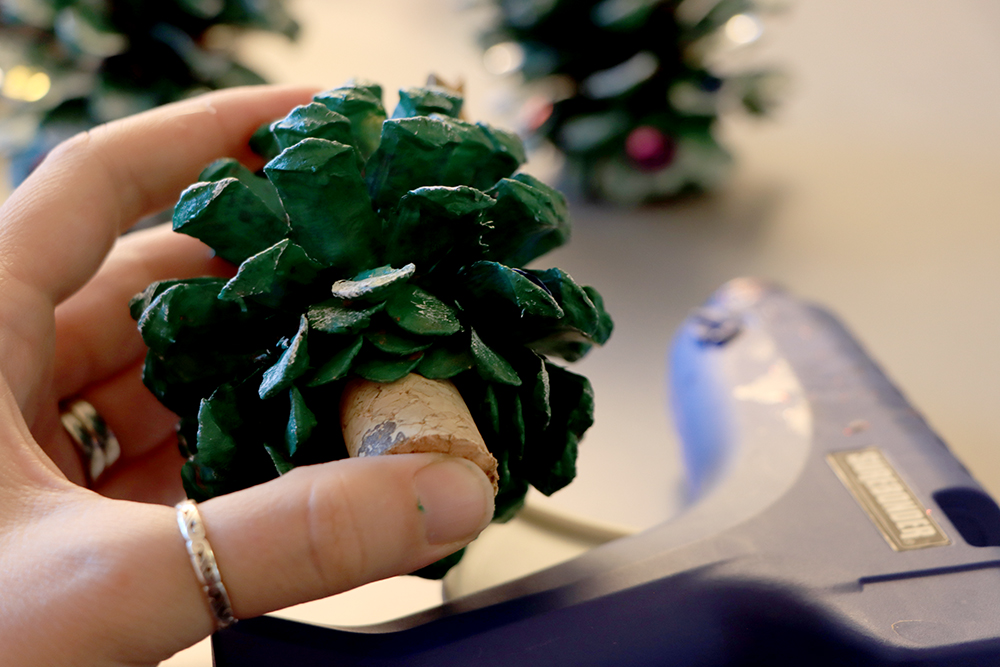
- Find the coordinating cork and apply hot glue to the top. Stick it to the butt of the pinecone and rotate until it stands on its own, then hold in place while glue dries (30 seconds to a minute).
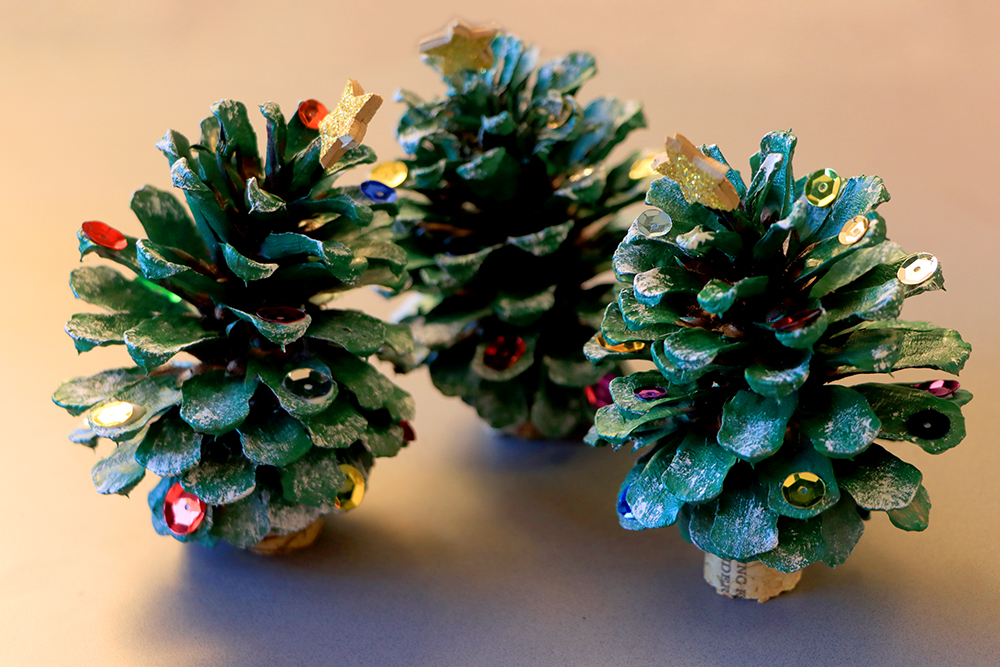
- Your pinecone tree is done! Sit back and marvel at your adorable creation.
 Lay down newspaper or plastic sheet to cover your crafting space to prevent a mess.


Share your completed craft with us! Tag NAU on social and send pictures to inside@nau.edu.

Carly Banks | NAU Communications
(928) 523-5582 | carly.banks@nau.edu