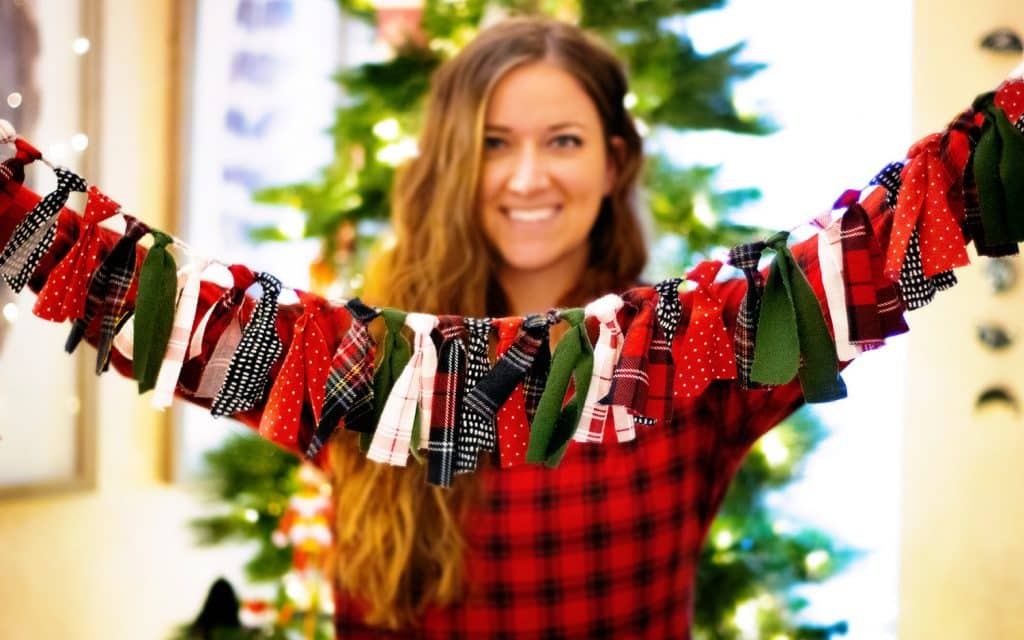


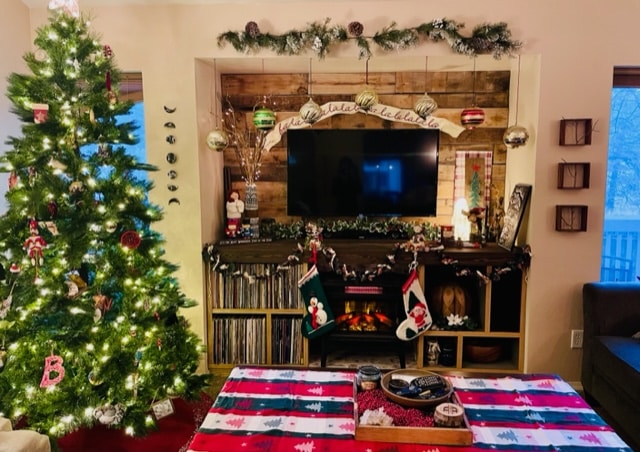
There’s nothing quite like the warm, fuzzy satisfaction that comes from plopping down on the couch and taking in the surrounding holiday décor that you spent the last few hours (OK, days) putting up. The twinkling Christmas lights and assorted ornaments, weirdly creepy figurines, colorful table runners and childhood stockings make this eclectic, chaotic holiday display a thing of beauty. But as I marveled at my craftsmanship, something was missing: a homemade festive fabric garland. It was exactly what my mantel needed.
Reasons why I love this craft:
- Inexpensive—Since you need so few supplies and can shop around for cheap fabric, this is a great decoration to add to your collection for only a few smackeroos!
- Ridiculously easy—We all have that friend (who is definitely not you) with ZERO creative ability. So long as they (you) can cut a semi-straight line and tie a standard knot, they (you) are well on their way to a beautiful garland to brag about every year.
- Can be done two ways to create different looks AND can be made with any color fabric—meaning you can make one for every holiday (or one to leave up all year round!).
- Mindless—This is a great craft to do in a group (plus, splitting the cost of supplies makes it even cheaper!). Keeping a conversation is easy while you work because it requires (basically) no thought at all.
So, put on a cheesy Christmas movie (I’d recommend Netflix’s “Falling for Christmas” or Hulu’s “Catering Christmas”) or your favorite holiday record, make a cup of hot cocoa or tea, find a table or large surface you can spread out and get to crafting!
Supplies: (all of which can be purchased at your local fabric/craft store)
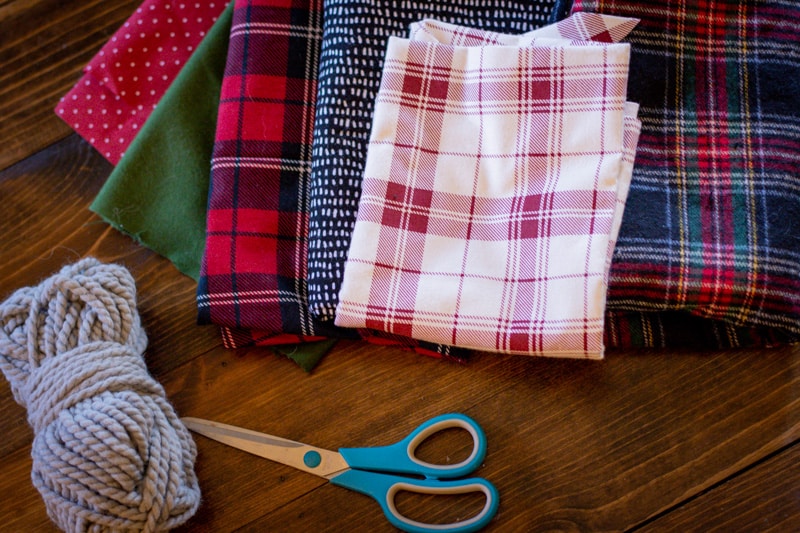
- Scissors
- Thick twine or thick yarn (at least 6 feet, depending on how long you want to make your garland)—I love the look of twine, but it’s important to note that about 95 percent of it will be covered. And yarn is a much cheaper alternative.
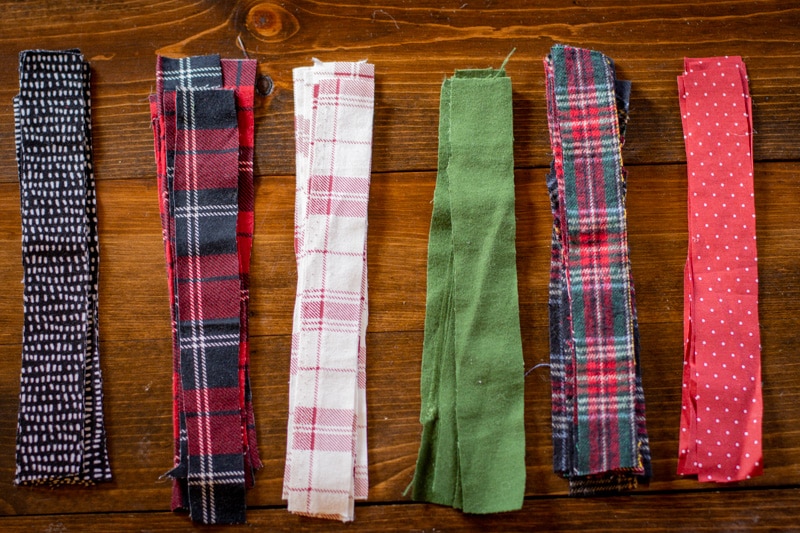
- Two+ different fabrics (totaling about a half-yard—may be more or less depending on how long you make your garland)—Put some thought into the fabric you get; make sure to get both patterns and solids that complement each other. I ended up getting six different fabrics (which may have been overkill). It’s also important to note that you don’t have to get holiday fabric. The type of fabric (flannel, cotton, linen, satin, etc.) doesn’t matter—I usually just head straight to the sale section and pick some coordinating colors and patterns from there.
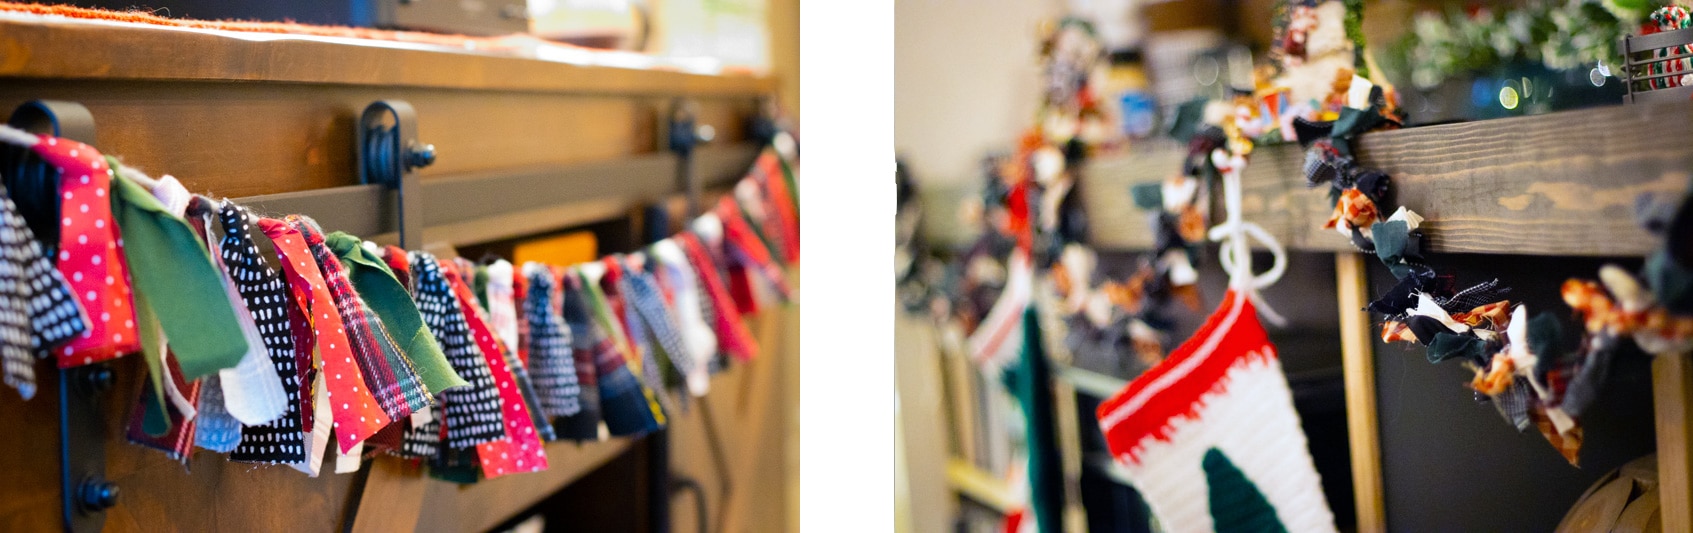
There are two different approaches to fabric garland. So, before you get started, determine which look you like best and follow the coordinating instructions below.
Option 1 Option 2
Instructions for option 1 (slightly more complicated):
 Gather your supplies.
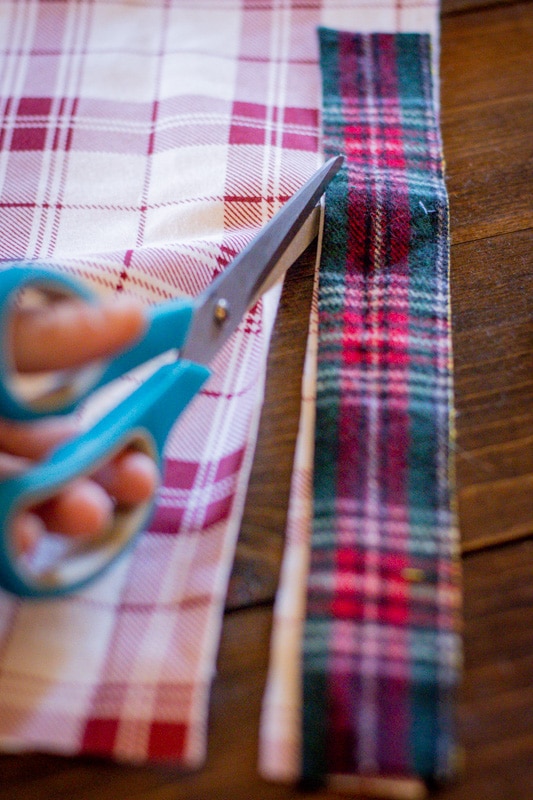
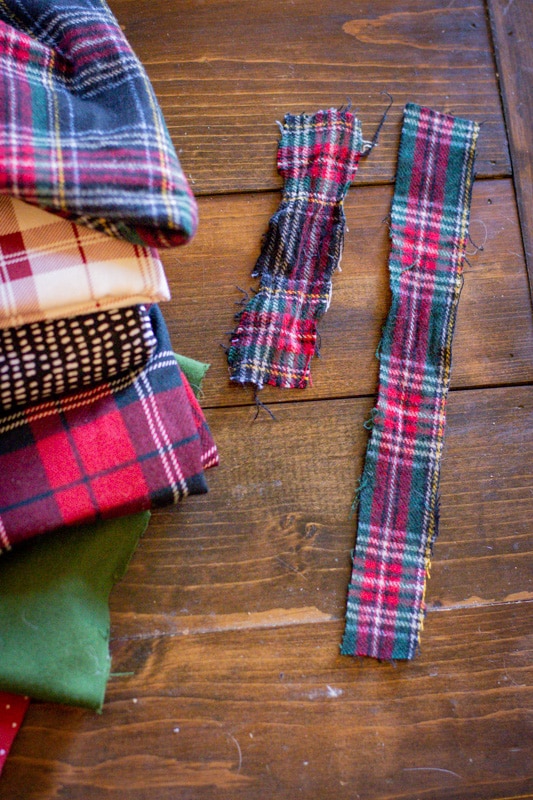
 - Cut your fabric into long strips, about 1.5 inches wide by 9 inches long, making sure you have the same number of strips for each fabric. (For reference, I used 56 strips of fabric to make a garland for my 66-inch TV stand.) (TIP: While these fabric strips should be generally straight, they do not need to be perfect. From afar, you won’t be able to tell if they are slightly crooked or have jagged edges.) (TIP: Once you have one strip cut, use it as a template to cut your other strips.)
- Color-coordinate your fabric strips into piles and place them in the order you prefer.
- Cut your rope or yarn to your preferred length. (TIP: Measure where you would like to hang your garland, then add at least two feet to account for a loose hang and room on the ends to tie it up. You can always cut it shorter after the fact.) If you don’t know where you’d like to hang it, leave the rope or yarn uncut on the spool—
 that way, you can continue to add more length as you go.
 - Make sure to leave 10 inches of rope or yarn at each end.
- Grab a fabric strip. Fold the fabric in half widthwise, then fold fabric in half lengthwise.
- Place folded fabric behind rope or yarn with a small loop at the top.
- Placing your index and pointer finger through the small loop at the top, pull the ends of fabric up through the loop, so it creates a small triangle at the top (similar to a necktie). (TIP: Don’t pull your fabric too tight. You want it secure but still easy enough to slide up and down the string.)

- Repeat steps 6-8, alternating between your piles of fabric and leaving a bit of wiggle room around each fabric strip. (I’m a bit OCD, so I made sure my fabric strips stayed in the same pattern throughout the length of the garland: black polka dot—red plaid— white plaid—green—color plaid—red polka dot. If you like the more freeform, artsy look, feel free to switch up your pattern throughout.)
- Once you’ve finished filling your rope or twine with your fabric strips and making sure you add another 10 inches to the end, cut to length (if you haven’t already). (TIP: These knotted fabric strips should slide along the rope easily, so feel free to arrange them until you get the desired look.)
- Hang your garland on your favorite mantle, table or shelf, around your staircase railing or above a door. (TIP: Add small clothespins between your fabric strips and use them to display your holiday cards!)
- Take a picture, post to social media, send us a picture of you and your garland on display at inside@nau.edu and brag about your creative prowess.


 Once you’ve finished filling your rope or twine with your fabric strips and making sure you add another 10 inches to the end, cut to length (if you haven’t already). (TIP: These knotted fabric strips should slide along the rope easily, so feel free to arrange them until you get the desired look.)
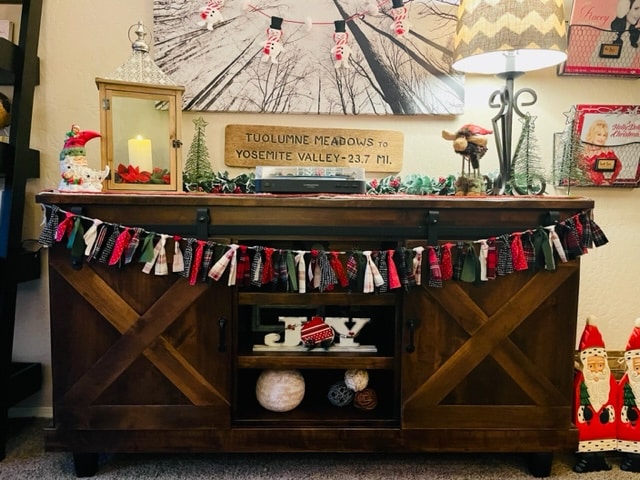
Instructions for option 2 (easier and faster):
- Gather your supplies.
- Cut your fabric into short strips, about 1 inch wide by 4 inches long, making sure you have the same number of strips for each fabric. (TIP: While these fabric strips should be generally straight, they do not need to be perfect. From afar, you won’t be able to tell if they are slightly crooked or have jagged edges.)
- Color-coordinate your fabric strips into piles and place them in the order you prefer.
- Cut your rope or yarn to the size you prefer. (TIP: Measure where you would like to hang your garland, then add at least two feet to account for a loose hang and room on the ends to tie it up. You can always cut it shorter after the fact.) If you don’t know where you’d like to hang it, leave the rope or yarn uncut on the spool—that way, you can continue to add more length as you go.
- Make sure to leave 10 inches of rope or yarn at each end.
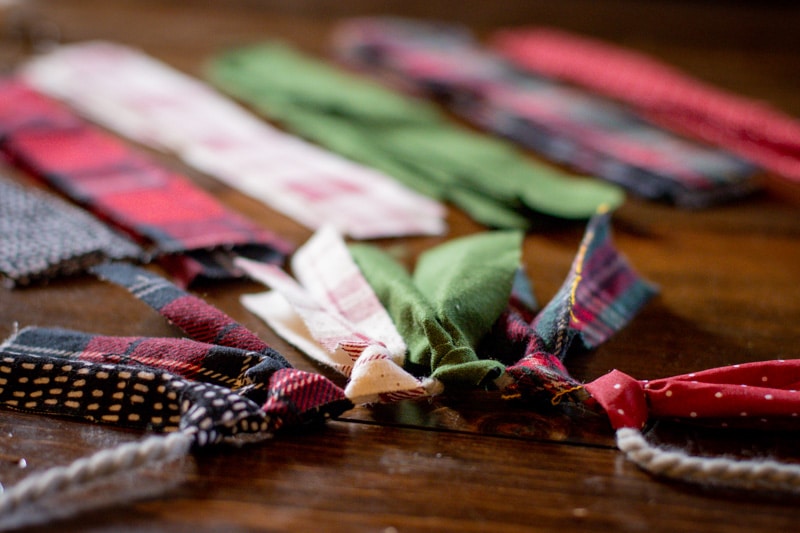
- Grab a fabric strip. Place the fabric strip behind rope or yarn and tie it around with a standard overhand knot. (PROTIP: Don’t pull your fabric too tight. You want it secure but still easy enough to slide up and down the string.)

- Repeat step 6, alternating between your piles of fabric. (I’m a bit OCD, so I made sure my fabric strips stayed in the same pattern throughout the length of the garland: black polka dot—red plaid— white plaid—green—color plaid—red polka dot. If you like the more freeform, artsy look, feel free to switch up your pattern throughout.)
- Once you’ve reached the desired length of your garland and making sure you add another 10 inches to the end, cut it to length (if you haven’t already).
- Hang your garland on your favorite mantle, table or shelf, around your staircase railing or above a door. (TIP: Add small clothespins between your fabric strips and use them to display your holiday cards!)
- Take a picture, post to social media, send us a picture of you and your garland on display at inside@nau.edu and brag about your creative prowess.


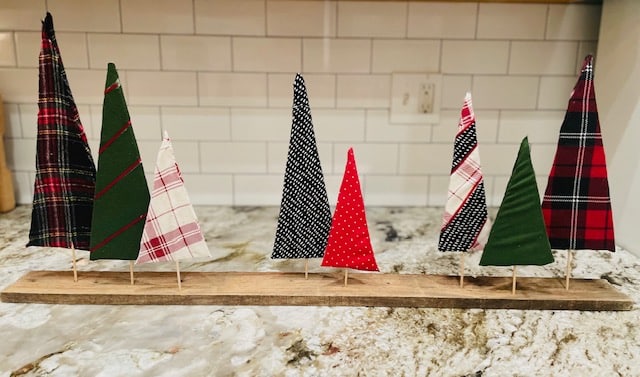
With the ability to use different color fabrics and other decorative elements (ribbon, lace, burlap, lights, etc.), the possibilities for this craft really are endless. (For my fall garland, I added large wooden beads in between every third strip to add some dimension and interest—it turned out great!) AND, if you have leftover fabric, there are so many options to put it to use, including another garland strand or these adorable fabric trees.
Hope you enjoy this craft. Happy holidays, Jacks!

Carly Banks | NAU Communications
(928) 523-5582 | carly.banks@nau.edu